 |
| Image credit - Jean-Pol GRANDMONT |
If the challenge of growing regular mushrooms is not enough for you then you can always 'ramp it up' by testing your skills on the highly popular (and expensive) Oyster mushrooms.
 |
| Image credit - Daniel J. Layton |
Although you can usually find Oyster mushrooms in supermarkets, most of these will be mass produced indoors and taste bland compared to those grown naturally outdoors.
Perhaps the easiest way to purchase Oyster mushroom spawn is as wooden dowels impregnated with Oyster mushroom mycelium (mushroom spawn) ready to 'plant' into a hardwood log. In fact, if you want an even more convenient way of producing Oyster mushroom you can even purchase logs that have already been ‘inoculated’ with the oyster mushroom mycelium.

Hard wood logs are preferable for mushroom growing, however sycamore, apple and ash are not recommended. The log should have a diameter of about 4-6 inches. A section of log 2ft long will support 10-15 dowels. It is recommended that the dowels are planted in the log no longer than 6 weeks after the log has been cut to prevent contamination from unwanted fungi. It is important that your cut log does not dry out otherwise it will be unable to support the Oyster mushroom as it grows. With that in mind, keep the log out of direct sunlight and store in a cool, dark ventilated place.
If you have already purchased the dowels but do not yet have the wood for them, then they will need to be stored in the fridge or a cool, dark, well ventilated place until you are ready to proceed.
How to set the plant dowels
 |
| Image credit - http://www.annforfungi.co.uk/ |
Take your piece of mother wood and drill holes about 6 inches apart in rows down its length. Each rows only needs to be spaced 3 inches apart around the diameter of the log. Push in the dowels and then gently tap them with the hammer so they are flush with the log surface. Seal the holes, any damaged bark and any cut branch-ends with a layer of wax but do not wax the ends of the log as some moisture must be allowed in.
Growing Oyster mushrooms
The completed log can be placed either in an area of shady wooded area or have them wrapped up in black polythene and buried under ground. If there is no suitable wooded area available to you but you do have a garden then you can always place them under evergreen shrubs.
 |
| Image credit - http://www.mysticchrist.co.uk/ |
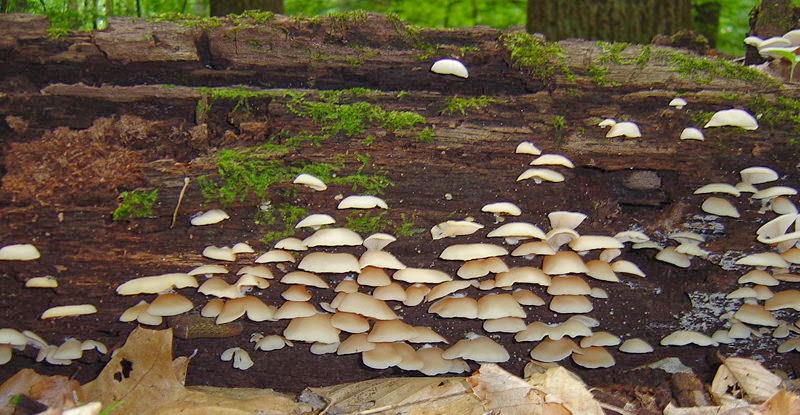
Once the log is fully colonised it can be moved to a warm, sheltered, moist area in dappled shade where the Oyster mushroom will begin to fruit. As you would expect, growing mushrooms in woodland makes for the perfect growing environment.
One more thing, you will find that you will get a better harvest if place you log on a brick, rock or another log. Do not place logs flat on the ground!
In time, small, white growths will appear at the dowel points on the log and these will develop into mushrooms within a week. Do not move the log.
When it comes to harvesting your Oyster mushrooms, grasp them at the base of the stem and twist them away from the log. You can expect the logs to continue producing mushrooms for up to 4 weeks. When growing Oyster mushrooms, allow several months recuperation time for the mycelium to regenerate before producing another crop. You can expect your logs to remain productive for a further four to six years.
Jean-Pol GRANDMONT file is licensed under the Creative Commons Attribution-Share Alike 3.0 Unported license.
Daniel J. Layton file is licensed under the Creative Commons Attribution-Share Alike 3.0 Unported license.
